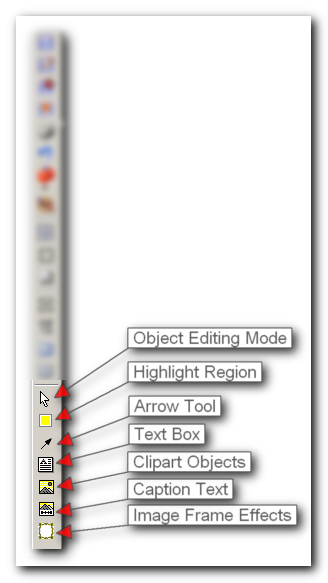
One of the special things about Screenshot Captor is that it allows you to create objects like highlight boxes and arrows, that can be edited, repositioned, resized, and deleted after they are added to your image. It does this all behind the scenes, so that you can still work with your image files and use them in other programs without doing anything special.
Object Files:
Screenshot Captor lets you edit objects and still maintain a standard image file by saving an extra file .objects file along side any screenshot image that contains objects. As soon as you add an object to an image, Screenshot Captor creates an .object file which keeps track of the object in the image, as well as the original image which contains a flattened/merged version of the screenshot without objects.
When you want to manipulate objects or add objects in Screenshot Captor, you switch into "Object Editing Mode".
In normal mode, you select rectangular regions of the current image in order to crop, blur, etc.
When you are in object editing mode, you select objects (or groups of objects) with your mouse, rather than selecting regions.
When you are in Object Editing Mode you will see one of the Object buttons on the toolbars depressed:

You can select one of the Object tools to CREATE a new object,
or select the white cursor button to toggle into Object Editing Mode to select and then EDIT an existing object. Press it again to switch back into normal mode.
When there are objects in a screenshot, the white cursor button will show a red O to remind you there are object available for editing.
When you select an object, or click an object tool button to create a new object, a panel will pop-up on your right with parameters for the object.
See the other subsections of this help section for detailed information on the different object tools.
You can also Ctrl+C and Ctrl+V to copy and paste objects.